A Little Bit About Me
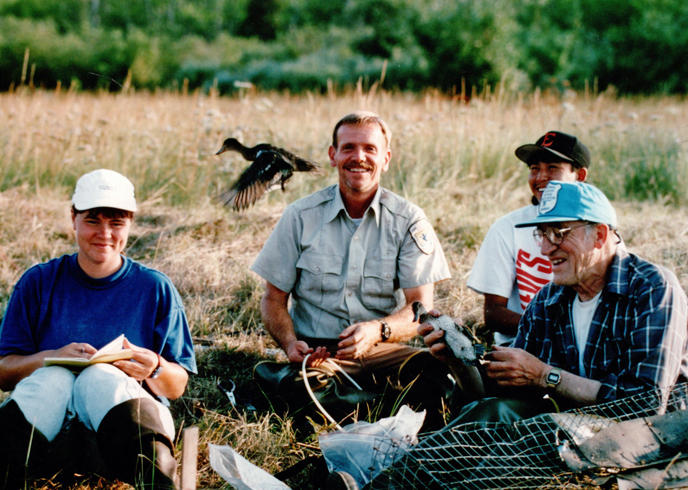
I have had an interest in photography since my grade school days. I also love wildlife and wild places. In fact, I spent a 30-year career working for the US Fish and Wildlife Service and the National Wildlife Refuge System. Beth (my wife) and I lived on a couple of refuges in the Lower 48. I spent the last 16 years of my career as the manager of the Yukon Flats National Wildlife Refuge based out of Fairbanks, Alaska. This is the story of how I took up a new hobby — camera trap photography — here in Homer, Alaska.
Our Home in Homer
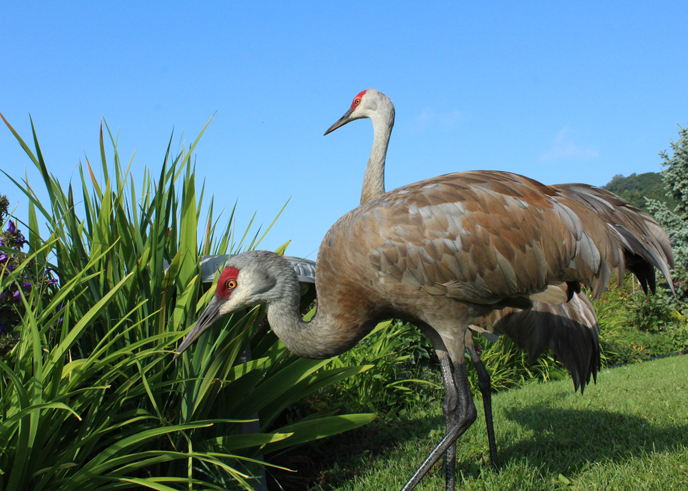
Beth and I both got to see a lot of Alaska through our work and personal travels. When it came time to retire and leave Fairbanks we decided that the Homer area was where we wanted to live. We were fortunate to find a couple of adjoining lots in Kachemak City on the “bench” that had a good southern exposure for gardening — another of our hobbies. As part of an old hay field our lots offered a great resting/feeding spot for sandhill cranes. Our property also hosts the occasional flock of white-fronted geese and a surprising number of other wildlife species that pass through the area.
The Camera Trap Photography Journey
I had tried to get good sandhill crane photos for years with some limited success. Always in the back of my mind was that it would be neat to get the camera right down next to the cranes at their level or even lower. I started reading about camera trap photography and watching YouTube videos on camera traps.
Initially I bought a trail camera for about $100. Trail cameras have a passive infrared trigger that takes a picture when there is a change in the heat energy in front of the sensors, like an animal crossing in front of the camera. Unfortunately, that change in heat energy can also be due to the wind blowing leaves or grass in front of the sensors. Trail cameras are easy to set up. They work really well for documenting wildlife species that pass in front of the camera, including the date and time. They will even take short video clips.
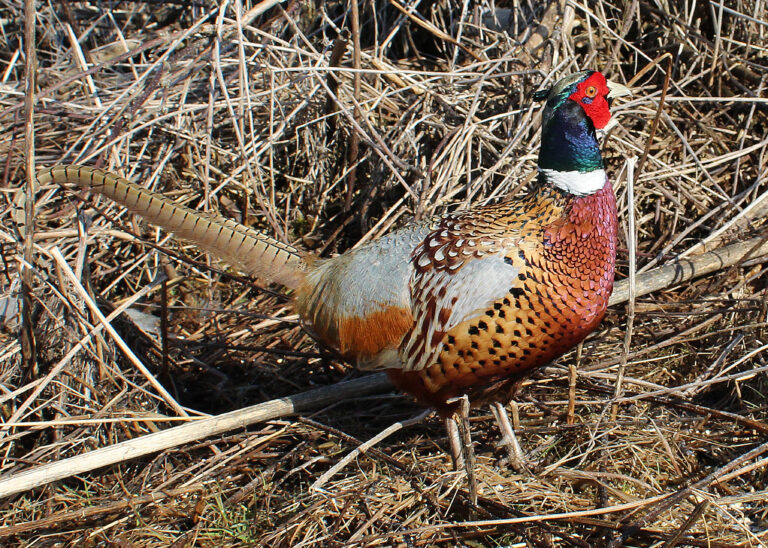
I have hundreds of still images of cranes and pheasants taken with that little trail camera. However, I was never pleased with the quality of the pictures. Trail cameras have a very slow shutter speed (mine was 1/30th of a second) and a cheap lens that in theory is in focus from one meter to infinity. To get better quality pictures I wanted to use a DSLR for my camera trap.
Camera Trap Photography Equipment
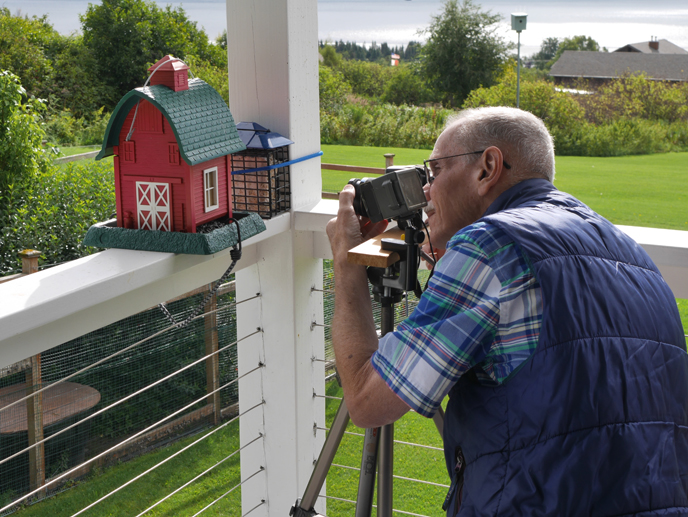
After watching more online videos (especially one from Neil Jernigan called a “Photographers Guide to Camera Traps”) one point stuck with me. If you are going to leave a camera out in the open, unattended, subject to weather, animals, and possible vandalism you probably don’t want to invest in very expensive cameras and lenses. I purchased a brand new entry level Canon Rebel T6 with a kit lens, battery, charger, etc. for about $265. I looked at a lot of different types of triggers for camera traps before buying a very nice programmable passive infrared trigger from a company called Camtraptions in England. The wireless model I bought is about $200. Then I connected the Camtraptions trigger to my camera and set about learning to use my new equipment.
Camera Trap Photography Technique
Using a camera trap is a lot different than the normal way of taking photos. A camera trap doesn’t try to perfectly compose a picture. It doesn’t strive to place the animal in the center of the frame. It doesn’t care if the animal is facing directly away from the camera. A camera trap doesn’t care if the animal is only partially in the view finder. Often it’s the wrong part of the animal in the view finder. It doesn’t care about the position of the sun or whether or not a cloud is passing over. A camera trap doesn’t care if the subject is in focus or how far the animal is from the lens. These are all things that the photographer has to consider when they are setting up the camera.
Since I set my camera on manual and focus on a spot where I think (hope) the animal is likely to be, I use a small aperture to give me more depth of field. My preference is to only set my camera out on sunny days, use a wide-angle lens, a fast shutter speed, and the small aperture. Even so, it’s not unusual for me to go through 700 or more images per session to get a half dozen decent photos. If I’m lucky I get one or two good ones — something I couldn’t afford to do back in the days of using film cameras.
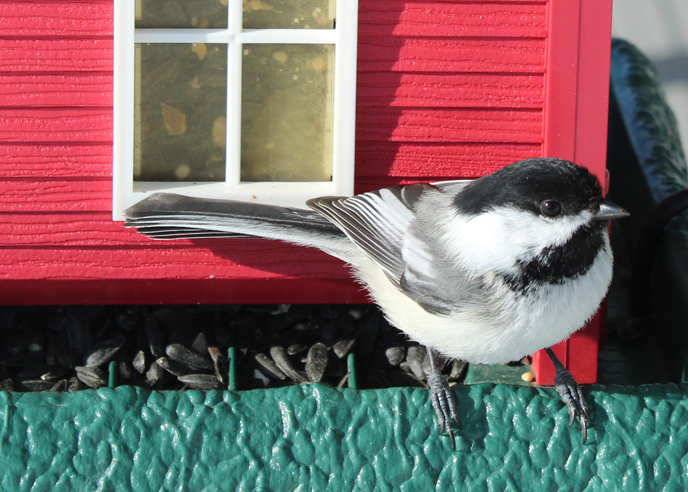
There is something about getting up close and personal to animals with a wide-angle lens and a small aperture to get a lot of depth that brings a different perspective to wildlife photography. I hope you enjoy looking at these images half as much as I enjoyed taking them.
Card Sets
The 5×7″ cards available in the Store are printed by Bay Photo in Scotts Valley, CA. Each card comes with a standard white envelope. The cards are printed with a 6-color printing process, the best press-printed card process available, and are suitable for framing.
Custom Card Sets
The cards in Card Sets 1-8 are available for purchase in any combination you wish. Email me at ted@tedswoodshop.com with your custom selection, and we will be happy to invoice you.
Prints
We also offer 5×7″ prints, with acid-free matting and backing, that are sized for 8×10″ frames.
Special Order Prints
Metal, wood, or acrylic prints up to 12 x 18 inches (maybe larger) are available for shipment directly to you from Bay Photo. Contact me for pricing if you are interested.